How to Fish and Tie the Micro Mayfly

The Micro Mayfly did not make my initial list of confidence flies. Nevertheless, it is just too effective to leave off. As with the Frenchie and Shop Vac, the Micro Mayfly is one of my go-to tag patterns. As a matter of fact, fishing the Micro Mayfly is identical to fishing the Shop Vac as both patterns excel in similar situations. I fish this fly all of the time and have had success catching native brookies, wild browns, and stocked trout with this pattern.
Incidentally, the Micro Mayfly is another Pheasant Tail Nymph variation; my personal mantra is”flies tied with pheasant tail simply catch fish!”
The Micro Mayfly is also the flashiest and most complicated of the flies I consider my confidence patterns. This one hosts a longer list of materials that includes tinsel, legs, and a wingcase, which are all parts that I typically leave off of my patterns. Most of the time, I find them unnecessary and a fly is just as productive when tied without these extra materials.
The Micro Mayfly, though, is an exception. Because of this, it does require a bit of practice to keep the profile slim and anatomically correct. With all of these materials tied on such a tiny fly, it is easy to end up with a bulbous, crowded mess in the end. Discard your early attempts at tying this fly and with practice, you will select the right amounts of materials to get it just right
The Micro Mayfly is also a Western fly pattern introduced to me by my friend Grumpy Dave and developed by famed tyer and fly fishing writer Mike Mercer. On Charlie’s Fly Box, Charlie Craven writes, “The combination of a short hook, heavy bead head and slim profile create a fly that offers the right profile to mimic the naturals as well as sink like a bomb.”
Allegedly, Mercer created the Micro Mayfly while fishing the Madison River in Montana. He wanted to develop a mayfly nymph that would drop quickly in fast and heavy but shallow riffles, yet it would not continually hang up and snag. The Micro Mayfly did the trick and it has been catching trout on the Madison and everywhere else ever since.
Tying the Micro Mayfly
Materials used to tie the Micro Mayfly
- Heavy curved, short shank nymph hook in #16-18. The Model 10 from Wholesale Fly Company is a great option for this pattern.
- Round tungsten bead in copper, silver, gold or black.
- 8/0 Classic Waxed Semperfli Thread in tan, olive or gray
- Tail: Pheasant tail fibers
- Body: Natural, black dyed or olive dyed pheasant tail
- Wingcase and legs: Pheasant tail
- Medium Mirage Opal Tinsel for the flash
- Ribbing: XS wire in color to match the bead
- ThoraxCollar: UV dubbing, Ice Dub, Senyo’s or Arizona Synthetic in a color that contrasts with the the pheasant tail abdomen
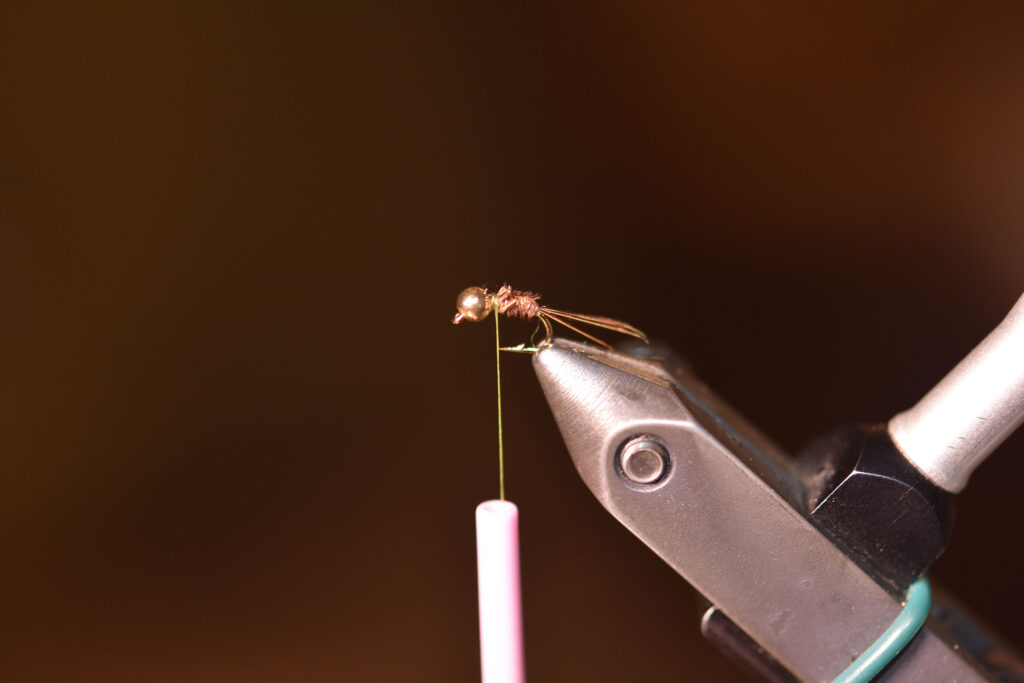
The description included will provide you a basis on how I tie this pattern. Because this pattern utilizes a number of materials, it can get bulky, which is why I don’t add any lead wire for weight. I like this fly as spare as possible.
Thread an appropriately sized bead to a #16-18 scud hook and lay down a thin thread base to the point just around the bend. Tie in three pheasant tail fibers and a length of XS ribbing wire then return your thread back up the hook. Do not trim off the pheasant tail butt ends as these are wrapped for the body, too. Using hackle pliers, wrap the pheasant tail to about halfway up the short hook shank, trap and trim. Counter wrap your wire rib and secure behind the bead.
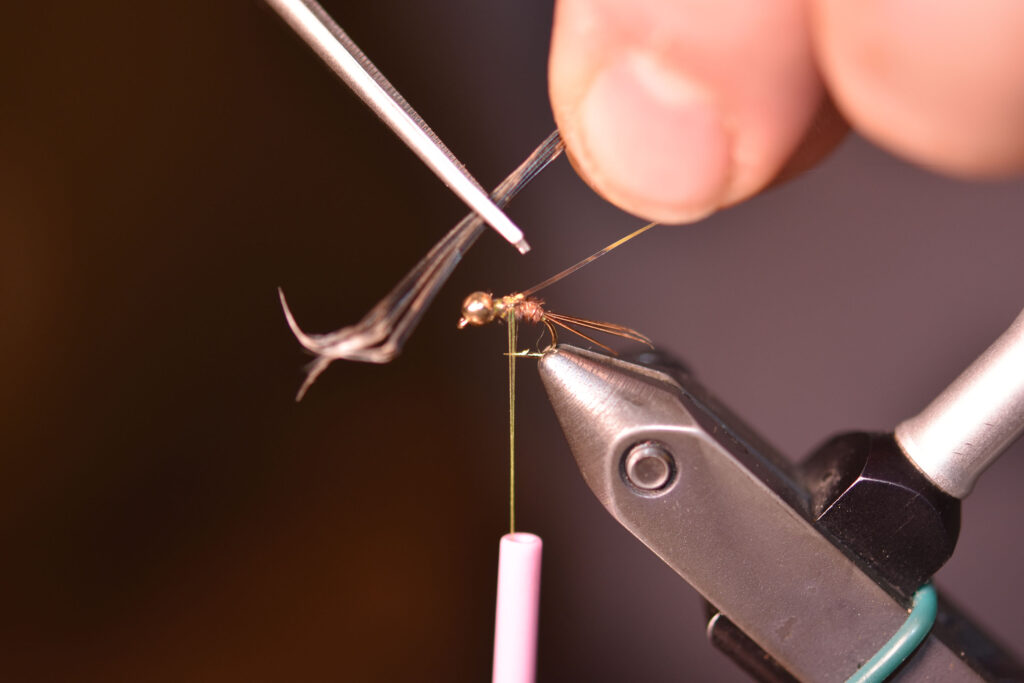
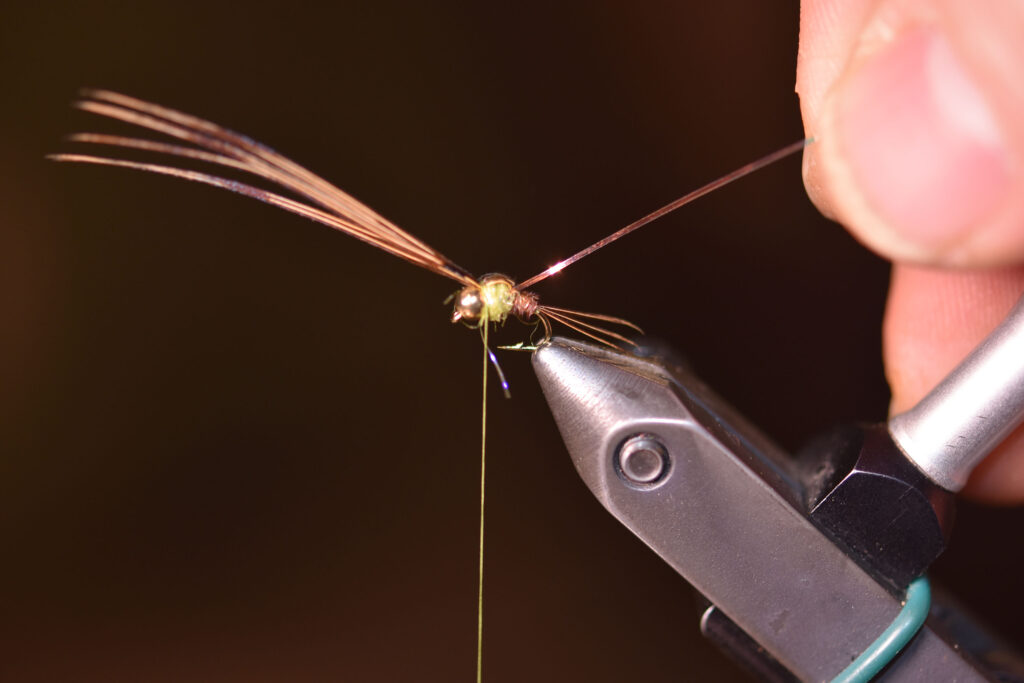
Select a length of tinsel and tie this in right in front of the pheasant tail abdomen. Select a clump of 6-8 pheasant tail fibers, tying them in so the tips are pulled forward to make the wingcase at the same spot. Take great care to remain neat and not create a lot of bulk. It is so important to tie in the Opal Mirage Tinsel first. Otherwise, it will be under the wingcase! Yes, I know you are asking, and I have made this mistake many times and it is a pain in the rear to fix.
Next, build a round thorax using the Ice Dub or alternative dubbing of your choice. Pull the pheasant tail fiber tips over the top to construct the case and trap with a wrap or two behind the bead. Pull the tinsel over the wingcase and trap this at the same spot. Trim the tinsel but not the pheasant tail fibers.
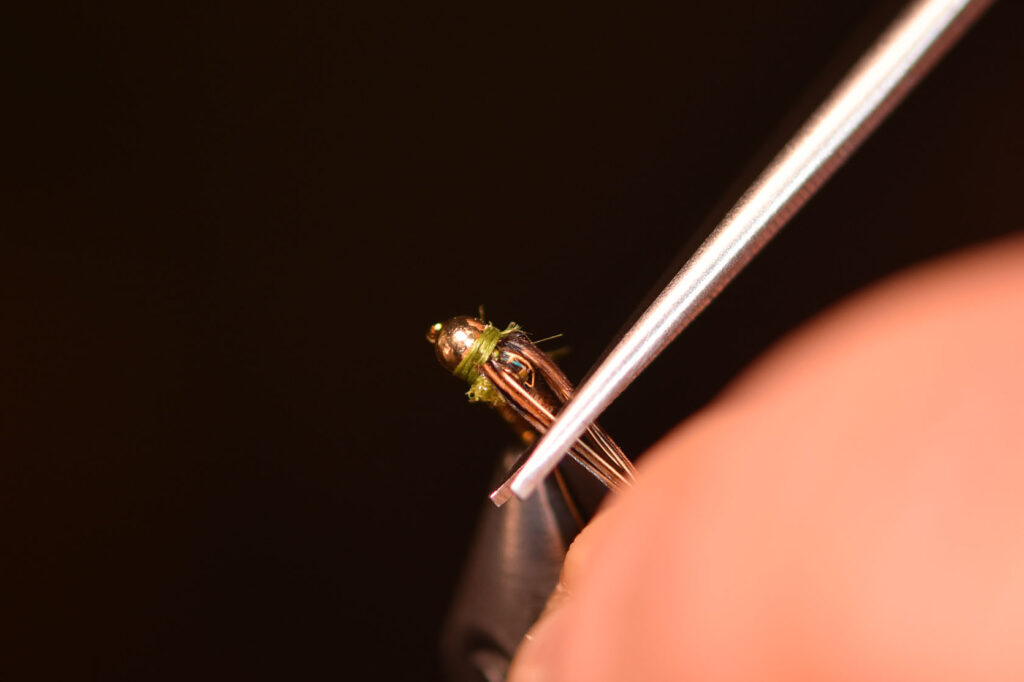
This is when things can get really sloppy, out of sorts and too big so do not overdo the thread wraps. Split the pheasant tail tips in half and lash 3-4 on the far side and then the other 3-4 on the near side of the hook shank. Take a few thread wraps back and over them so they point rearward and lay on the sides of the fly to create the legs.
Take one or two tight wraps of thread behind the bead and whip finish to lock everything in place. Apply a tiny drop of head cement because there is so much going on at the head of this fly. Finish by trimming the legs so they stick out about ½ of the hook shank.

Did You Find This Fly Tying Guide Helpful?
Stay up to date with the Dark Skies Fly Fishing monthly newsletter for free and receive the latest posts in fly fishing news, tricks, tips, and techniques, stream reports, as well as updates on new flies added to the Online Store and exclusive discounts!
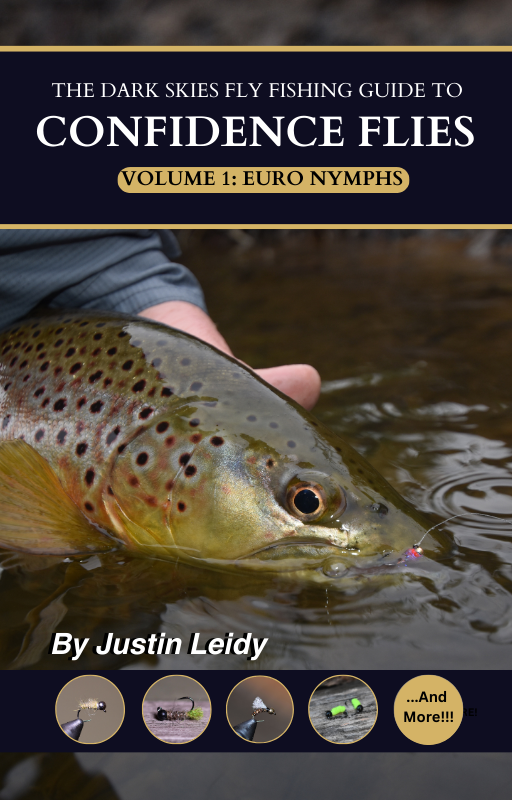
Sign Up NowDownload our eBook "Confidence Flies: Volume One, Euro Nymphs" for free today when you sign up for our newsletter!
Have a fly fishing question you’d like answered? Drop us a line at info@darkskskiesflyfishing.com! If we use your question in a blog post or in the newsletter, we’ll send you a FREE fly box with a dozen of our favorite nymphs and dry flies!

